Table of Contents
ToggleA dead cordless vacuum sitting in the closet is about as useful as a hammer with no handle. For Dyson owners, the charger is what keeps their powerful cordless vacs running, but it’s also a component that gets surprisingly little attention until it stops working. Chargers get stepped on, chewed by pets, or simply fail after years of daily use. When that happens, figuring out which replacement to buy or whether your existing charger can be fixed isn’t always straightforward. This guide walks through how Dyson vacuum chargers work, how to match the right charger to your model, common troubleshooting steps, and best practices for keeping your charger functional for the long haul.
Key Takeaways
- Dyson vacuum chargers convert 120V AC household power to DC voltage (typically 26.1V or 30.45V) and include built-in circuit boards that prevent overcharging and protect lithium-ion batteries.
- Not all Dyson chargers are interchangeable—V6, V7, and V8 models use 26.1V chargers, while V10, V11, V12, and V15 models require 30.45V chargers, so always verify your model number before purchasing a replacement.
- Most charger issues stem from loose connections, dirty charging ports, or damaged cables; troubleshooting steps include testing the outlet, inspecting the cable, cleaning the port, and borrowing a compatible charger to isolate the problem.
- When buying a replacement Dyson vacuum charger, choose official Dyson products or third-party chargers with UL or ETL certification to ensure electrical safety and compatibility, and avoid generic ‘universal’ chargers that may deliver inconsistent power.
- Extend your charger’s lifespan by anchoring wall-mounted docks to studs, routing cables away from foot traffic, keeping charging contacts clean monthly, and storing the charger in a climate-controlled space.
- If your Dyson cordless vacuum won’t charge despite troubleshooting the charger, the issue may be the battery’s management system (BMS) or degraded battery cells rather than the charger itself.
Understanding Your Dyson Vacuum Charger
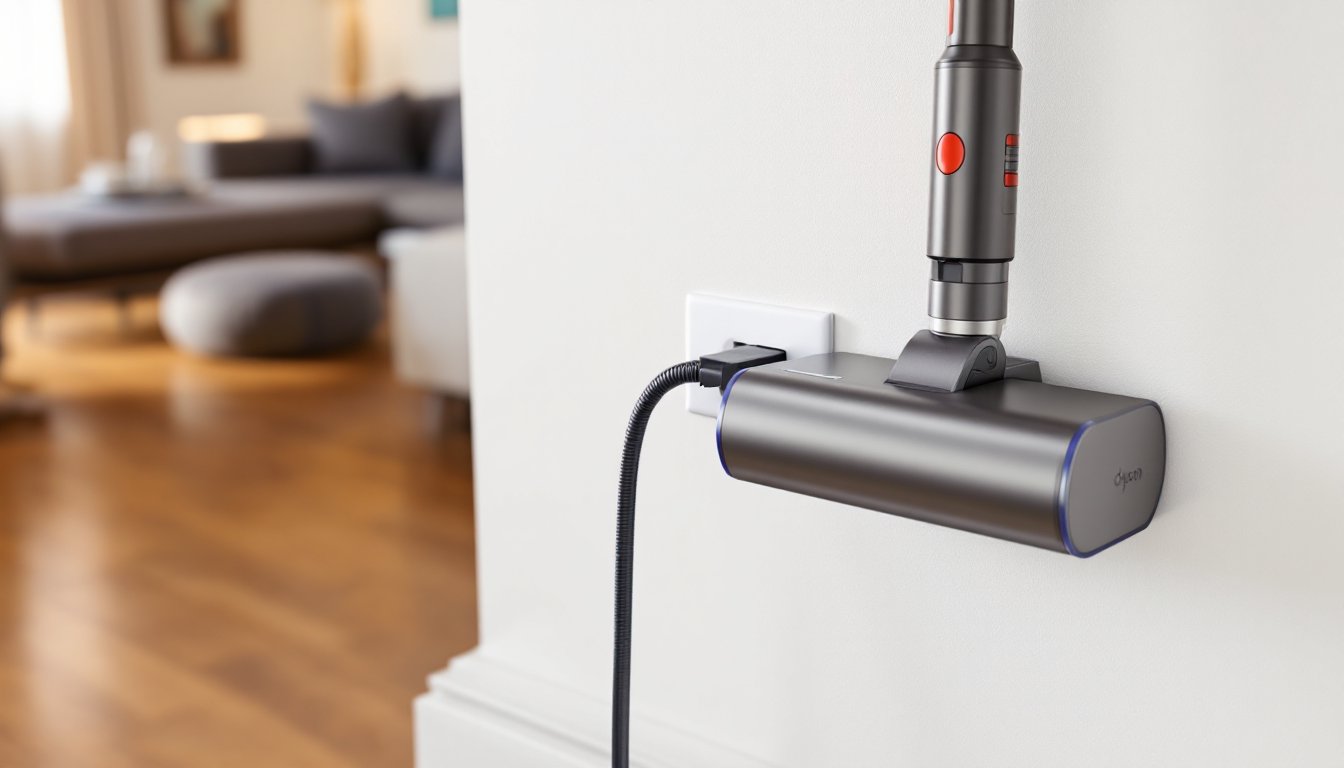
Dyson cordless vacuums use wall-mounted charging docks or direct-plug chargers, depending on the model. Both deliver DC power to the vacuum’s lithium-ion battery pack, but they differ in design and installation.
The wall-mounted dock doubles as storage and a charging station. It mounts to studs or drywall (with appropriate anchors) and holds the vacuum upright while charging. The charger itself is a separate power supply unit, usually a transformer brick, that plugs into a standard 120V outlet and connects to the dock via a low-voltage cable.
Direct-plug chargers skip the dock and plug straight into the vacuum’s charging port. These are more common on older or compact models and are simpler to replace if damaged.
Both types convert household AC power to a lower DC voltage (typically 26.1V or 30.45V, depending on the battery chemistry and model). The voltage and amperage must match your vacuum’s specifications, or you risk undercharging the battery or, in rare cases, damaging the electronics.
How Dyson Cordless Vacuum Chargers Work
Inside the charger, a switching power supply steps down 120V AC to the appropriate DC voltage. A small circuit board regulates current flow to prevent overcharging, which can degrade lithium-ion cells over time. When the battery reaches full capacity, the charger reduces current to a trickle charge or cuts off entirely, depending on the model year.
The vacuum’s battery management system (BMS) also plays a role. It monitors cell voltage, temperature, and charge cycles. If the BMS detects an issue, like a temperature spike or a damaged cell, it may prevent the battery from charging, even if the charger is working correctly. This is why a non-charging vacuum isn’t always a charger problem.
Dyson chargers don’t have user-serviceable parts. If the cable frays or the transformer fails, the unit needs replacement. There’s no safe way to repair a damaged charger without proper equipment and knowledge of electrical components.
Finding the Right Charger for Your Dyson Model
Not all Dyson chargers are interchangeable. Voltage, connector type, and amperage vary across model lines, and using the wrong charger can prevent charging or shorten battery life.
The easiest way to identify the correct charger is to check the model number on your vacuum and cross-reference it with Dyson’s official compatibility chart. The model number is usually printed on a label near the battery compartment or on the main body of the vacuum.
If you’ve lost the original charger, look for a replacement that lists your model number explicitly. Generic “universal” chargers marketed for Dyson vacuums often cut corners on voltage regulation and build quality. They may work initially but can fail prematurely or deliver inconsistent power.
Compatibility Across V6, V7, V8, V10, V11, and V15 Models
Here’s a breakdown of charger compatibility across popular Dyson cordless lines:
- V6 models: Use a 26.1V charger with a barrel-style connector. Most V6 chargers are interchangeable within the V6 family (Absolute, Animal, Motorhead, etc.).
- V7 and V8 models: Also use 26.1V chargers, but the connector and charging dock design changed slightly between V7 and V8. Chargers are often cross-compatible, but docks are not.
- V10 models: Introduced a 30.45V charger with a revised connector. V10 chargers will not work with V6, V7, or V8 models.
- V11 models: Use the same 30.45V charger as the V10, and the two are typically interchangeable.
- V12 and V15 models: Continue with 30.45V, but some V15 variants use a click-in charging dock that’s incompatible with earlier wall mounts.
If you’re upgrading from an older Dyson to a newer model, don’t assume your old charger will work. The voltage difference between V6/V7/V8 and V10/V11/V15 means you’ll need a new charger and, in many cases, a new wall dock.
When buying a replacement, verify the part number on the charger itself (usually printed on the transformer). Cross-check it against Dyson’s official parts list or a reputable third-party supplier’s compatibility guide. For example, some homeowners find that product reviews for home appliances help confirm which third-party chargers have been tested and verified.
Common Dyson Charger Problems and How to Fix Them
Most charger issues fall into three categories: no power, intermittent charging, or slow charging. Here’s how to diagnose and fix each.
No power (no charging light, battery stays dead):
- Check the outlet. Plug a lamp or phone charger into the same outlet to confirm it’s live. Reset any tripped breakers or GFCI outlets.
- Inspect the charger cable. Look for fraying, kinks, or damage near the plug or connector. If the cable is damaged, replace the charger, don’t attempt to tape or splice it.
- Test the vacuum’s charging port. Gently wiggle the connector while it’s plugged in. If the light flickers, the port may be loose or dirty. Use a dry toothbrush to clean out dust and debris.
- Try a different charger. Borrow a compatible charger from a friend or buy a replacement to rule out a faulty unit.
If none of these steps work, the issue is likely the battery or the vacuum’s internal BMS, not the charger.
Intermittent charging (light turns on and off, battery charges sporadically):
This usually points to a loose connection. Disconnect the charger from the vacuum and the wall, then reconnect firmly. If the problem persists, check for bent pins in the charging connector or debris in the port. A can of compressed air can clear out fine dust that interferes with contact.
Wall-mounted docks can also develop loose connections if the mounting screws work their way out over time. Re-tighten the screws into studs or use #8 drywall anchors rated for at least 50 pounds if you’re mounting to drywall.
Slow charging (takes significantly longer than the rated charge time):
Dyson cordless vacuums typically charge in 3.5 to 5 hours depending on the model. If charging takes much longer, the charger may be delivering lower-than-spec voltage or amperage. This can happen with cheap third-party chargers or aging original units.
Test with a multimeter if you have one. Set it to DC voltage and measure the output at the charger’s connector. Compare the reading to the voltage printed on the charger label. If it’s more than 1 volt low, replace the charger.
Slow charging can also result from a degraded battery, especially if the vacuum is several years old and has been through hundreds of charge cycles. In that case, replacing the battery is the fix, not the charger. Many hands-on DIY tutorials cover battery replacement for common Dyson models, though it’s not a simple plug-and-play swap on all units.
Where to Buy Replacement Dyson Chargers
Replacement chargers are available from several sources, but quality and price vary significantly.
Dyson’s official store is the safest option. You’ll pay a premium, usually $40 to $70 for a charger or dock assembly, but you’re guaranteed compatibility and build quality. Dyson also offers bundle kits that include the charger, wall dock, and mounting hardware.
Third-party sellers on Amazon, eBay, and specialty vacuum parts sites offer chargers for $15 to $30. Some are legitimate OEM parts sold by authorized resellers: others are knockoffs with inconsistent quality. Read reviews carefully, and avoid listings that don’t specify voltage, amperage, or model compatibility.
Electronics recycling centers and used appliance shops sometimes stock pulled chargers from broken vacuums. These can be a bargain if you’re willing to test them before buying, but there’s no warranty.
Local vacuum repair shops may carry Dyson parts or be able to order them for you. This is a good option if you want in-person advice or don’t want to wait for shipping.
When buying third-party, look for chargers with UL or ETL certification. These marks indicate the product has been tested for electrical safety. Uncertified chargers pose a fire risk, especially if left plugged in continuously.
If you’re replacing the wall dock as well, measure the mounting hole spacing before buying. Dyson has changed dock designs across model generations, and not all docks fit the same screw pattern. For general advice on maintaining home appliances and choosing reliable replacement parts, homeowner advice resources often include detailed buying guides.
Best Practices for Extending Your Charger’s Lifespan
A well-maintained charger can last the life of your vacuum. Here’s how to keep it running:
Mount the dock properly. If you’re using a wall-mounted charging dock, anchor it into studs whenever possible. For drywall, use toggle bolts or heavy-duty anchors rated for at least 50 pounds. A loose dock puts stress on the charger cable and connector every time you dock the vacuum.
Route cables carefully. Keep the charger cable away from foot traffic, door swings, and pet access. Use cable clips or conduit to protect cables running along baseboards or behind furniture. Avoid tight bends or kinks, which can break the internal wiring over time.
Don’t leave the charger plugged in when not in use. While Dyson chargers are designed for continuous use, unplugging them during extended absences (vacations, etc.) reduces wear on the transformer and eliminates standby power draw.
Keep the charging contacts clean. Wipe the vacuum’s charging port and the dock’s contact pins monthly with a dry microfiber cloth. Dust buildup can create resistance and reduce charging efficiency.
Store the charger in a climate-controlled space. Extreme heat or cold can degrade the charger’s internal components. Don’t mount the dock in an unheated garage or near a radiator.
Avoid overloading the circuit. Plug the charger into a dedicated outlet if possible, especially if you’re also running high-draw appliances like space heaters or power tools on the same circuit. Voltage sags can stress the charger’s power supply.
If you’re replacing a charger, keep the old one as a spare, even if it’s intermittent. A backup charger is handy if the primary unit fails or if you have a second Dyson-compatible vacuum.